Hello. This is codingwalks.
1. Introducing Anaconda
Anaconda is a distribution for the Python and R programming languages, and provides an environment where you can easily install and manage various libraries and packages required for data science, machine learning, artificial intelligence (AI), and big data analysis. In particular, it includes development tools such as Jupyter Notebook and Spyder, allowing you to easily use functions essential for data analysis.
Anaconda has the following characteristics:
- Includes 1,500+ data science packages
- Supports multiple operating systems (Windows, macOS, Linux)
- Easily manage packages and Python versions through virtual environments
- Includes essential tools for data analysis

2. Download Anaconda
The Anaconda installation process is as follows:
1. Visit the Anaconda homepage: Go to [https://www.anaconda.com].
2. Click the Download menu: Click the "Free Download" button at the top of the page.

3. Email registration: If you do not wish to register, click the "Skip registration" button to proceed directly to download.

4. Select your operating system: Select and download the installation file that matches your operating system (Windows, macOS, Linux) and architecture.

5. Select Python version: You can select the version of Python to use when installing Anaconda. It is generally recommended to use the latest version of Python, but you can also select a lower version as needed.
3. Install Anaconda
Once the download is complete, you can install Anaconda by running the installation file according to your operating system.
Windows
1. Run the downloaded `Anaconda3-2024.06-1-Windows-x86_64.exe` file.
2. Click "Next >", read the license agreement, and click "I Agree".
 |
 |
3. Select the “Just Me” option, click “Next >”, choose a download location and click “Next >”.
 |
 |
4. It will ask you whether you want to add Anaconda to your environment variable. I recommend not selecting the "Add Anaconda to my PATH environment variable" option. Then click "Install" to start the installation.
 |
 |
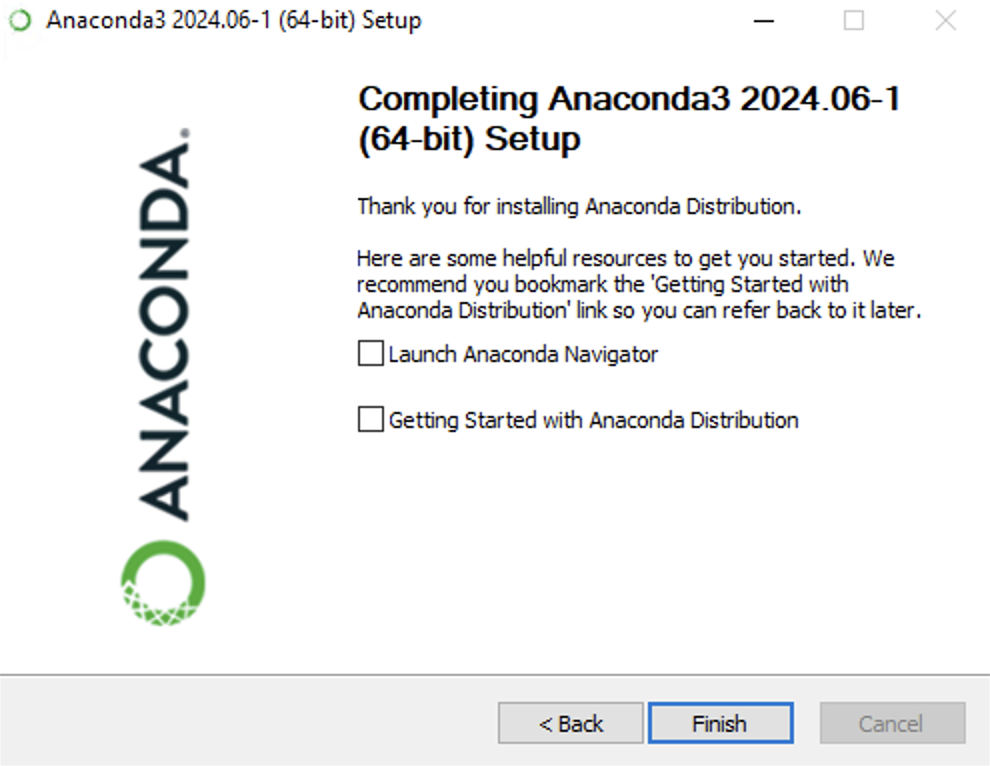
5. Once the installation is complete, click “Next >” and then “Finish” to complete the installation.
 |
 |
macOS and Linux
1. Launch Terminal and run the downloaded `.sh` file:
bash Anaconda3-2024.06-1-Linux-x86_64.sh2. Select the installation path and other options and proceed with the installation.
4. Verifying the Installation
Once the installation is complete, open the terminal (or command prompt) to verify that Anaconda has been installed properly.
conda --versionIf the Anaconda version is displayed when you enter the command above, the installation was completed successfully.
5. Commands related to virtual environments
Anaconda can independently manage Python versions and packages across multiple projects through virtual environments. This allows you to work in different environments without conflicts.
Creating a virtual environment
conda create --name `Virtual environment name` python=`version`Activate virtual environment
conda activate `Virtual environment name`Disable virtual environment
conda deactivateDelete virtual environment
conda remove --name `Virtual environment name` --allCheck the list of virtual environments
conda info --envs
6. How to install JupyterLab
Anaconda includes Jupyter Notebook by default, but JupyterLab is a more advanced version that provides a more powerful user interface and features. To install JupyterLab, use the following command:
Installing JupyterLab
conda install -c conda-forge jupyterlabRun JupyterLab after installation
jupyter-labEntering the above command will open the JupyterLab interface in your browser, where you can manage various files and perform data analysis tasks.
JupyterLab Key Features
- Write and run code, check results
- Support various file formats (.csv, .json, .md, etc.)
- Support data visualization and interactive graphs
Using Anaconda and JupyterLab together can increase the productivity of your data science projects. JupyterLab allows you to efficiently manage multiple experiments and quickly switch between projects.
If you found this post useful, please like and subscribe below. ^^

[Codingwalks]에게 송금하기 - AQR
[Codingwalks]에게 송금하기 - AQR
aq.gy
'Programming > Python' 카테고리의 다른 글
| Python Matplotlib Data Visualization - How to Use the imshow Function (0) | 2024.10.23 |
|---|---|
| Python Matplotlib Data Visualization - Drawing Basic Graphs (0) | 2024.10.23 |
| PyCharm Installation Guide (feat. Anaconda Interpreter) (0) | 2024.10.23 |
| Python venv creation error (returned non-zero exit status 1.) (0) | 2024.10.23 |
| How to upgrade Python on Ubuntu (0) | 2024.10.22 |


